At home
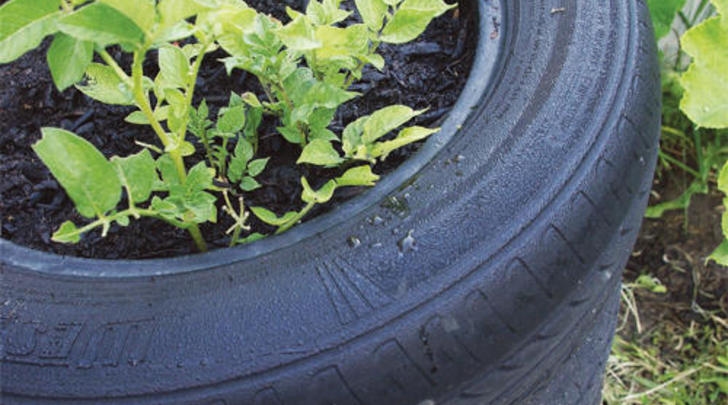
Garden ideas - Tyre tower potatoes

[This story first appeared in the Feb-Mar15 issue of Green Ideas magazine.]
Getting them started:
Chitting seed potatoes – getting their sprouts growing before you plant them out – gives them a head start, but is optional. To do this just leave in a dry spot, away from direct sunlight, until sprouted.
You'll need...
- Some seed potatoes (found at garden centers, or for heritage varieties, see www.koanga.co.nz)
- Soil
- Two or three old tyres (most tyre dealers will happily give you old ones for free; 2-3 are ideal)
- Cardboard or newspaper
- Plastic sheeting for lining (optional)
- Water
Method

Step 1 - Place a tyre in a sunny spot – if planting on to grass, place a piece of cardboard underneath the tyre.

Step 2 - Cover the cardboard with an even layer of earth, compost or a combination of both. Some people worry about the tyre rubber breaking down or affecting the soil – if this is a concern, you can line the sides with plastic sheeting (make sure there is drainage at the bottom).

Step 3 - Place potatoes evenly on the earth. Don’t be too concerned with which way up they go – the shoots will find their way upwards.

Step 4 - Cover potatoes with a good layer of earth. Water thoroughly and frequently, particularly if the weather is hot. Avoid wetting the foliage once sprouted.

Step 5 - When the potatoes sprout and the green tops are above ground add another tyre and some more soil. Leave a small amount of foliage exposed at the top.

Step 6 - Replenish the nutrients in the earth by mixing in comfrey leaves (pictured), compost, weed-free straw and rotted animal manure.

Step 7 - Tubers grow from the covered stems of the plants, so repeat Step 5 as the plants gain height. In warm areas potatoes grow all year round but still watch out for frost – if you think it will freeze overnight prevent damage to the leaves by covering them with cloth or newspaper.

Step 8 - Early potato varieties are ready within 3-4 months; they are not the best for storing so eat soon after harvesting. Main (late) varieties typically take 4-5 months; these are ready once the foliage has withered. For better storage, leave main crop varieties on the soil to dry for a couple of hours.
